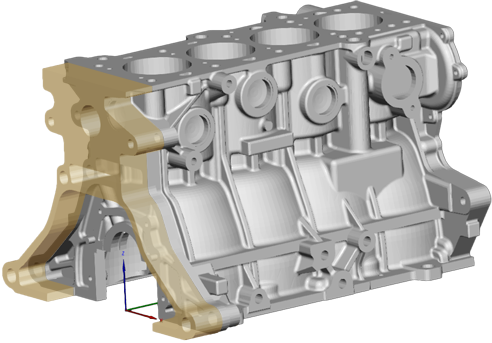
Extrude a selected area of a part with a specified distance and direction.
Note:
(NextDent 5100 Printer) Click
Simple UI ![]() to switch
between the simple and the advanced User Interface. In the Simple UI,
only the tools for minimum workflow are visible.
to switch
between the simple and the advanced User Interface. In the Simple UI,
only the tools for minimum workflow are visible.
In the Prepare tab, click Extrude.
Select face(s) to extrude by using the following methods:
Click on a flat surface to select it. The boundaries will be detected.
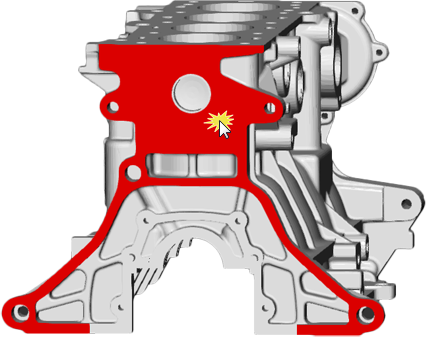
To select a curved face, while holding the mouse button, drag up or down to increase or decrease the angle tolerance.
To select multiple faces, select faces while holding down the Shift key.
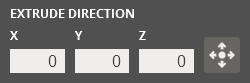
By default, the normal vector of the selected surface will be the extrude direction.
To change the direction, enter a vector in the field. Or using the Direction Indicator tool, select a line or face on the part. The normal vector of the face or vector of the line will be used.
Set the offset distance to extrude.
Click Set.
The surface will be extruded.