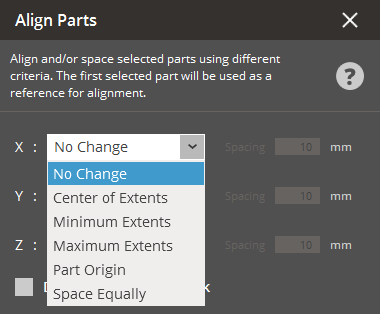
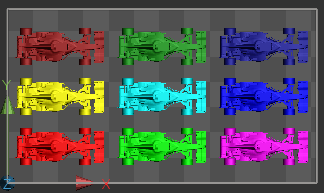
Align and/or space selected parts using different criteria. This allows
parts even with different widths and heights to align with one another.
Note: The first selected part will be used as a reference
for alignment.
In the Print tab, click Align Parts.
Select a part that you want to use as a reference for alignment.
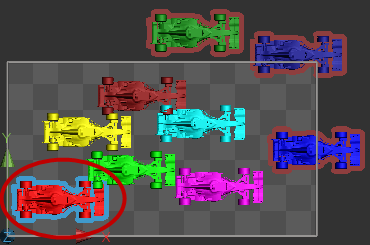
Select other parts as moving parts.

Note: Use the Shift key
to select multiple parts.
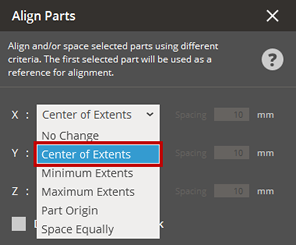
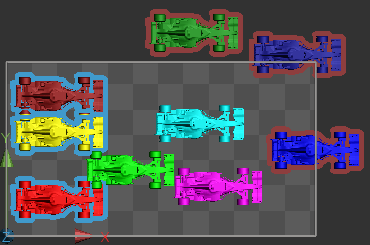
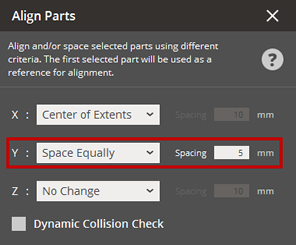
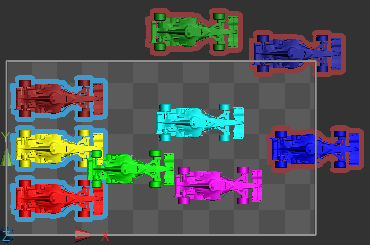
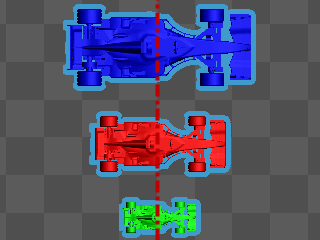
To align the selected parts so that they have the same center
in the X axis, change the option in the X axis to Center
of Extents.
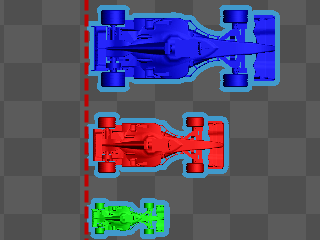
To align the selected parts so that they are distributed evenly
in the Y axis, change the option in the Y axis to Space
Equally and then specify a distance in the Spacing
field.
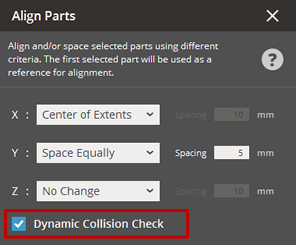
Note: Select the Dynamic Collision
Check checkbox to check the collision between supports
and other parts while aligning parts.
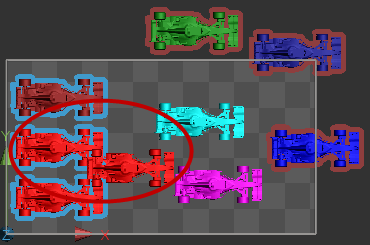
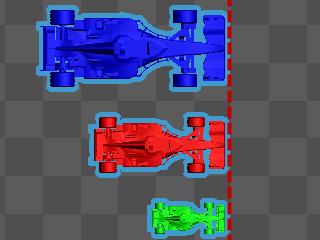
Check the results and click anywhere outside of the parts.
Repeat the process from the step 2 to 6 to align other parts.
No Change - Keeps the current position
of parts.
Center of Extents - Aligns parts in
a specified axis through their centers.
Minimum Extents - Aligns parts in
a specified axis along the minimum of a reference part.
Maximum Extents - Aligns parts in
a specified axis along the maximum of a reference part.
Part Origin - Aligns parts in a specified
axis along the origin of a reference part.
Space Equally - Distributes parts
evenly with a specified distance in a specified axis.

Dynamic Collision Check - Allows to
check the collision between supports
and other parts while aligning.