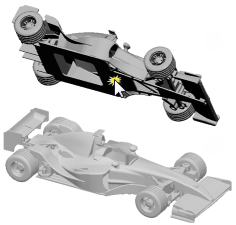
Automatically orient selected parts or set base of the part. This can be useful to quickly re-orient a part when it is not imported as desired.
Note: Click Simple UI ![]() to switch between the simple and the advanced User Interface. In the Simple
UI, only the tools for minimum workflow are visible.
to switch between the simple and the advanced User Interface. In the Simple
UI, only the tools for minimum workflow are visible.
Auto Orientation
Click Auto.
Select an option to optimize for; Print Time, Surface Quality or Support Area in the command panel. These will be activated depending on the current printer (ex. Support Area will only be activated for printers that use supports).
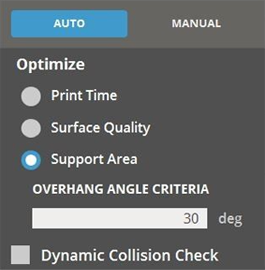
Select Overhang Angle Criteria, this will set the angle that requires supports to print.
Click Orient.
If the orientation is not as expected, change the options and click Orient again. Or use manual orient.
Note: If orienting multiple parts, make sure that they do not collide after running the command.
Select Dynamic Collision Check if there are two or more parts on the Print Platform to check for part collisions.
Manual Orientation
In the Copy panel, click Manual.
Choose one of the directions (+/- X, +/- Y, or +/- Z) to specify the orientation direction.

Click on a face of the part that you want to align to set the base surface.
The surface will be aligned to the specified alignment direction on the Print Platform based on the normal of the selected point.
Optimization
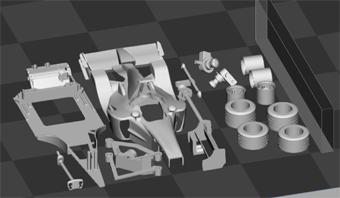
Print time - Finds the orientation that requires the least printing time.
Surface quality - Finds the orientation that gives the best surface quality. Circular and smooth surface parts will be oriented on the Z-axis.
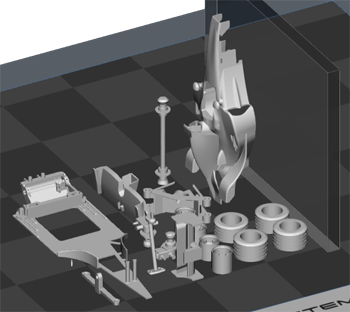
Support area - Finds the orientation that requires the least support. Choose Support Angle Criteria to define the smallest angle from the vertical axis that will require supports.
Note: The Support Area option is available only for printers that use supports.
Dynamic Collision Check - Allows to check the part collisions between supports and other parts while orienting.
See Also