Supported Printers:
SLA-printers
Styles files are parameter groups that control the slicing 3D Sprints software does to your parts. Style files consist of information on the type of SLA system upon which you intend to build your parts, the style of build you will be executing (FAST, EXACT, ThinLayer, or QuickCast), and the best parameters for successful part building. Styles for Parts and Supports are assigned separately.
Style files are initially assigned to an entire Print Platform based on the Printer configuration and can then be changed with the Build Style Command. Once assigned, you can change the style preset, edit the build parameters in the style preset, or add a different style preset to a particular range of a part.
Styles are assigned to individual parts of a print build.
Add a Build Style
To add a build style region,
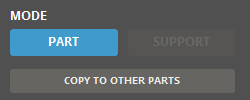
Select a Part or Support.
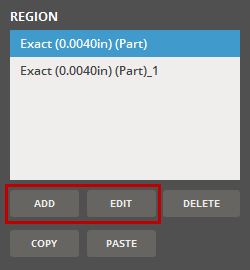
Select or add a region.
Click Add ![]() to add a new region or Edit
to add a new region or Edit ![]() to modify the parameters
for a selected one.
to modify the parameters
for a selected one.
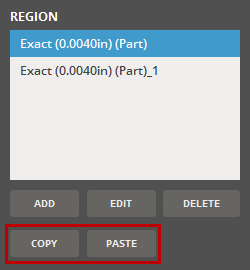
To copy build style from region to another, click Copy
![]() , and select another region and then click Paste
, and select another region and then click Paste ![]() .
.
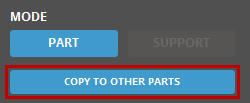
To copy build style from one part to another, use the Copy To Other Parts button. When the mouse curser is changed to an eye dropper, select part that you want to copy its build style and then select another part to paste it into.
Editing Build Style Parameters.
Why edit Build Style Parameters? Parameter editing may be deemed necessary to accommodate a specific combination of part geometry, resin, and build style. In an effort to provide a system that helps direct users toward successful part building, the build style parameters incorporated into the 3D Sprint application contain optimized parameters for building high-quality parts. These presets exist for every SLA model/resin combination currently available.
A description of all current Region parameters can be found here: Build Style parameters
Edit QuickCast Diamond Lattice
The structure of QuickCast Diamond lattice can be edited.

Note: The QuickCast Diamond Lattice option is available for materials that support QuickCast Diamond build style.
Click the Edit button under the QuickCast Diamond Lattice.

Change values to the Strut Length and the Strut Width options to edit the structure of QuickCast Diamond lattice.
Select the Large Spot Lattice option to increase the spot size.
Click Restore if you need to restore the selected style to default values.
Click Set.
Edit a Region Build Style
Region styles are specific to a region and can be assigned to each region individually.

New Build Style preset:
Click the Add button ![]() .
.
Click the Edit button ![]() to edit the selected build style.
to edit the selected build style.
Enter the region build style parameters.
Click the Add a new style
button ![]() in the Edit Build Style Parameters dialog.
in the Edit Build Style Parameters dialog.
Enter a name and click Set.
Click Set.
Edit a Build Style preset:
Click the Edit button ![]() under the Region list.
under the Region list.
Select the build style to change from the Build Style drop-down.
Modify the region build style parameters
Click Update ![]() or click Restore
or click Restore
![]() to revert the changes.
to revert the changes.
If necessary, click Rename
![]() to rename the selected build style and then
change to a new name in the Name
box.
to rename the selected build style and then
change to a new name in the Name
box.
Import a Build Style preset:
Click the Edit button ![]() to edit the selected build style
to edit the selected build style
Click the Import button ![]() below the Build Style drop-down.
below the Build Style drop-down.
Navigate to the build style file and click Open.
Note: The mismatch of printer or build style can be checked when importing the build style file. If the printer or the build style in the sty, rcs or 3dpconfig file is not the same as the current printer or style mode, a warning will be shown.
Note: Crossing import feature from build part to supports and vice versa is allowed.
Select the name for the build style and click Set.
Export a Build Style preset:
Click the Edit button ![]() to edit the selected build style.
to edit the selected build style.
Select the preset from the Build Style drop-down.
Click the Export button ![]() below the Build Style drop-down.
below the Build Style drop-down.
Navigate to where you want to save the file, give it a name and click Save.
This will create a .styleddd file with your selected build style.
Delete a Build Style preset:
Click the Edit button ![]() to edit the selected build style.
to edit the selected build style.
Select the build style to change from the Build Style drop-down.
Click Delete ![]() .
.
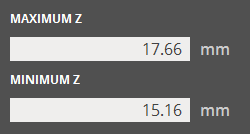
Resize a Region
To resize a region, drag the top or bottom plane.
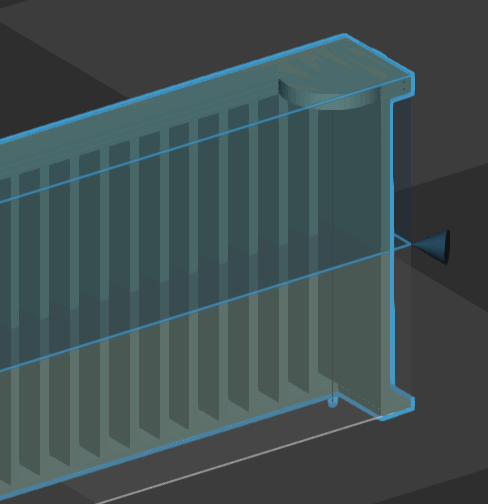
Or enter the maximum and/or minimum Z height in the command panel.
Remove a Region
To remove a region, select it and then click Delete
![]() .
.
See Also