Supported Printers:
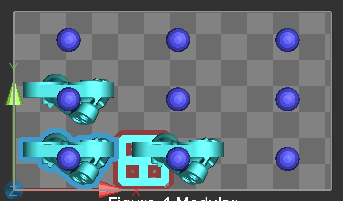
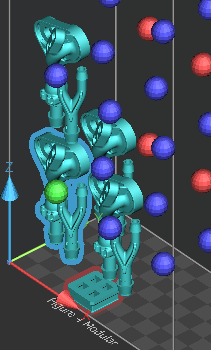
Figure 4 Standalone
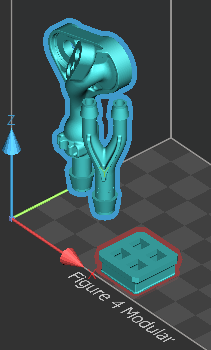
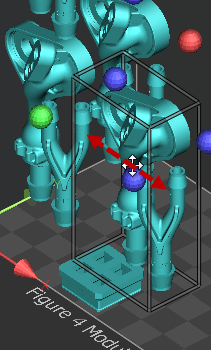
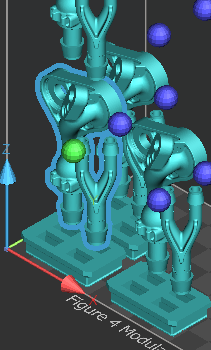
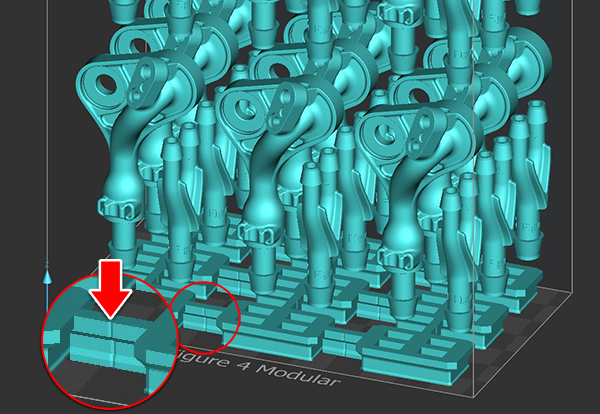
Figure 4 Modular
Quickly create stacks by duplicating a part and patterning them on the Print Platform so that they can space uniformly along X-, Y-, and Z-axis.
Find Must Watch - Figure 4 Training Videos at the following link:
http://infocenter.3dsystems.com/videolibrary/figure-4-training-videos
Before beginning stacked printing, refer to Best Practices of Stacked Printing Workflow at the following link:
Creating Stacks
Import file(s) to be stacked.
Note: You can stack a pair/set of parts either separately or together. If stacking together, the parts will need to be combined before proceeding. It is also possible to stack parts separately and have them placed within the same Print Platform.
Determine the optimal orientation for nesting and supporting. If you are adding as base to your stack, import your STL for that base now. Using bases are recommended because they allow you to:
Punch out the stack as a whole when doing post processing.
Hold your stack by the base when handling and cleaning it.
Stand up your stack for drying and curing (if parts are not packed too densely).
Note: You can find base templates provided by 3D Sprint at the following path:
(Default Path - C:\Program Files\3D Systems\3D Sprint\Resources\Printers\Figure4\Bases)
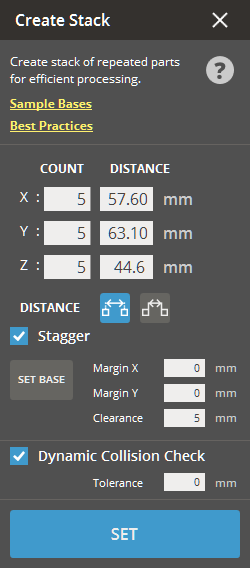
Select the parts and in the Print tab, click Create Stack.
In the Count option, set the number of pattern instances for X-, Y-, or Z-axis.
Note: The number set in the Count option includes the original parts or selections.
In the Distance option, set the distance between either the center of the pattern instances.
Note: You can also set the distances by clicking and dragging each neighbor parts to a desired location along X-, Y-, or Z-axis.
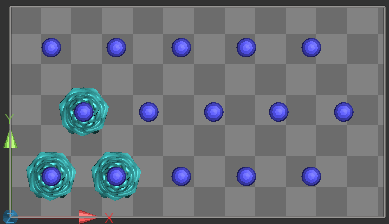
Note: Blue dots indicates what fits within the build area and the red dots do not.
There are two ways that stacks can be arranged: Regular and Staggered. If necessary, select the Stagger checkbox to shift pattern instances every other row. The Stagger option allows to automatically shift the row of the pattern instances so that they can create more space to clean parts after printing.
|
|
Stagger option - OFF |
Stagger option - ON |
Click Set Base and then select on the base file that was brought in earlier during build setup.
Note: When selecting a base, this will scale to the size of XY part boundary. The selected base will be placed and printed with the part directly on the Print Platform.
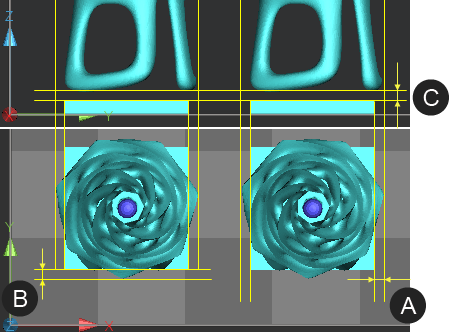
Specify values in the Margin and Clearance options.
The Margin indicates the distance between the boundary of the part and the edge of the base.
The Clearance indicates the distance between the bottom of the first-row parts and the base.
If necessary, select the Dynamic Collision Check checkbox to check the part collision between neighbor parts. If the part collision is detected, readjust the distance between the pattern instances.
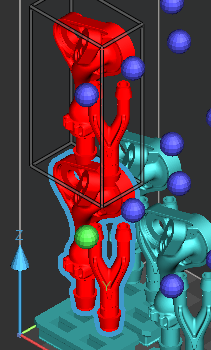
Click Set to create stacks with the settings. An I-beam like connector piece will connect between the centroids of each base.
Options
Parameters
Count (Min. 1 - Max. 99) - The number of pattern instances in X-, Y-, or Z-axis.
Note: The number set in the Count option includes the original parts or selections.
Distance (Min. 0mm) - Select one of the
distance types: Distance between Part Centers
![]() and Distance between Part
Extents
and Distance between Part
Extents ![]() and specify the
distance between the pattern instances in X-, Y-, or Z-axis.
and specify the
distance between the pattern instances in X-, Y-, or Z-axis.
Stagger - Allows to shift the every second row of pattern instances to the half of the distance between two of other pattern instances in the X axis and to create more space for cleaning the parts after printing.
|
|
Stagger option - OFF |
Stagger option - ON |
Set Base - Click to set the base for stacking parts.
Margin X, Y - The width of the margin area that is formed by border edge of a base and the outer of a pattern instance.
Note: A margin of 0 mm means that the base is the size of the part boundary. The larger the margin is, the smaller the base is.
Clearance (Min. 0mm - Max. 50mm) - The offset height from the top of the base to the bottom of a pattern instance.
|
|
Dynamic Collision Check - Select to check part collision within the specified tolerance. Use this option when two or more stacks could be highly concentrated closer than the specified tolerance.
See Also