The copy command quickly creates multiple copies of a part and place them on the Print Platform.
Note: Click Simple UI ![]() to switch between
the simple and the advanced User Interface. In the Simple UI, only the
tools for minimum workflow are visible.
to switch between
the simple and the advanced User Interface. In the Simple UI, only the
tools for minimum workflow are visible.
Note: To quickly copy a part, select the part, press Ctrl+C and then press Ctrl+V to place a copy next to the original part.

Select a part.
Select Copy or Linear Pattern.
Copy

Fill in the number of copies or select the Fill Up Platform to duplicate the selected part until the platform is fully utilized.
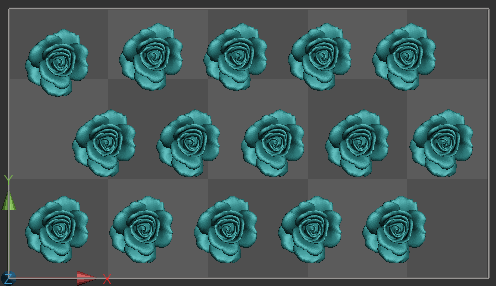
If you want to keep the original position of the selected part, select the Fix Original Part.
Linear Pattern
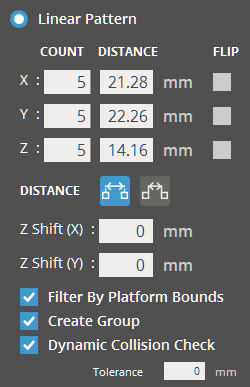
Fill in the number of copies for X-, Y- and Z-axis.
Specify the distance between pattern instances for X-, Y-, and Z-axis, or click and drag one of previewed pattern instances to set the distance.
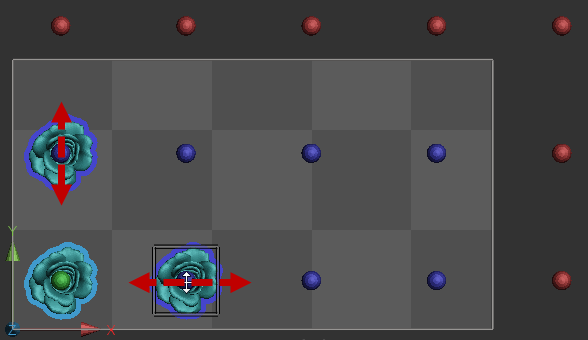
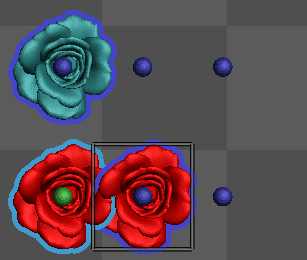
Note: The pattern instances marked in red indicate that they do not fit on the Print Platform. Consider decreasing the number of instances or readjusting the distance.
To mirror the pattern instances across the X-, Y-, and Z-axis, click Flip.
In the Distance, select
one of the distance types: Distance
between Part Centers ![]() and Distance between Part Extents
and Distance between Part Extents ![]()
If necessary, specify the Z shift distance for X- and Y-axis. The Z shift increments the Z-distance cumulatively between the centers of the pattern instances in the X-and Y-axis.
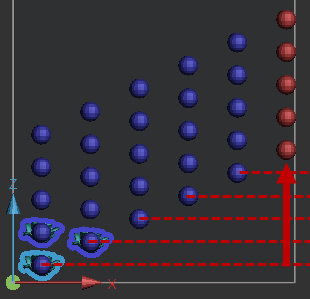
To filter the pattern instances out of the boundary of the Print Platform, select the Filter By Platform Bounds.
To check the part collisions while defining the linear pattern, select the Dynamic Collision Check and specify the tolerance.
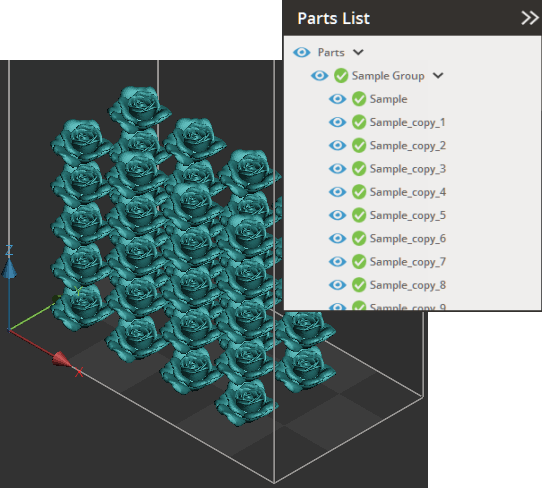
Note: Select Create Group to group the patterned parts in the parts list so as to retain the pattern when moving or running the Auto Place command.
Click Set.
To quickly optimize the placement on the print area, use the Auto Place command.
See Also