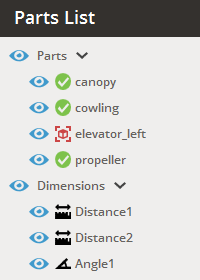
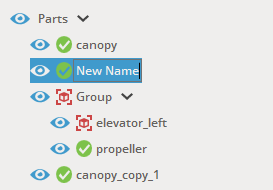
The Parts List panel shows all parts, dimensions and supports on the platform and can be used to hide or show parts in the application as well as select, delete, duplicate, rename and export parts, dimensions and supports.
Parts are labeled after it's status:
Verified and placed within the print volume.
Contains open boundaries or not placed within the print volume.
Not placed at or above the minimum Z-height.
Contains bad geometries.
Group
Select parts in the Parts List.
Right click one of the parts and click Group.

Result:
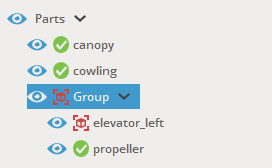
To ungroup, right-click the group and click Ungroup.
Duplicating Parts
Select parts to duplicate.
Right-click on a part and click Duplicate.
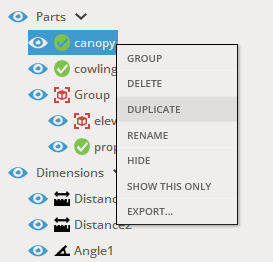
Duplicates will be placed on the Print Platform. Rename the parts to easily recognize each copy.
Note: It is also possible to duplicate parts by pressing Ctrl+C when selecting the part, and then press Ctrl+V.
Rename
Rename a part or group to easily recognize it.
Right-click on a part or group and select Rename.
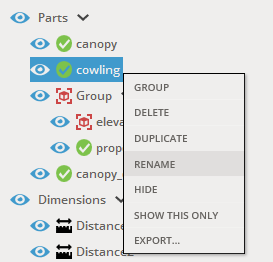
Enter a name for the part or group.
Press Enter, or click anywhere on the screen.
Hide and show parts
To hide or show a part, click on the visibility icon ![]() .
Or right click on the part and click Show/Hide.
.
Or right click on the part and click Show/Hide.
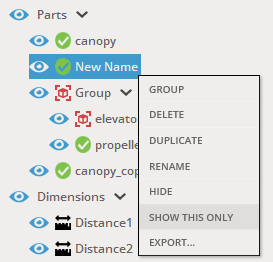
To quickly view only a specific part or group, use the Show This Only option.
Right-click on a part or group and select Show this only.
Note: If a part is hidden, it will still be included in a print job sent to the printer.
Import / Export Transformation Matrix
After transforming an object, you can export a transform matrix of the moved object and import it to reuse it when transforming other objects.
Select a moved object from the parts list.
Right-click on a part or group, and select Transform > Export to export the transformation matrix as an .XML file.
![]()
Type a file name and click Save. The transformation matrix is exported.
![]()
To apply the exported transformation matrix to another part or group, right click on the part or group in the part list, and select Transform > Import.
![]()
Browse the exported transformation matrix file (.XML) and select it, and then click Open.
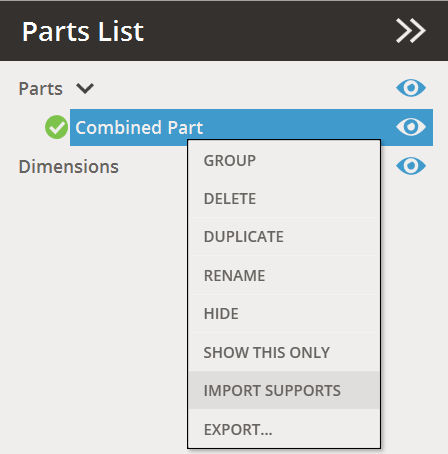
Import a support and associate it with a part
Note: Support > Import and Delete are available only for the printers that use supports.
Select a single part.
Note: Importing supports for multiple parts is not available. Import them singularly or group the parts using the Combine command before importing a support file.
Right click on the part in the part list and select Support > Import to import support.
Select the support file from the import dialog.
Click Open.