MJP Technology
MJP is a multi-jet 3D printing system. The three dimensional solid parts built by the 3D printer system consist of one support material and one (or two) part materials. The support material is a wax based material providing adhesion to the Print Platform, as well as, providing supports for the part material to build the model.
The part material used to build parts is an ultraviolet (UV) curable material. After a layer of material is deposited in the build chamber, the part is exposed to a UV flash lamp. The UV energy is absorbed by the material converting the liquid build material to a solid polymer. When the build is complete the part is adhered to the Print Platform by means of the support material.
Best Practices
For more information on how to improve your parts, learn about other materials, advanced finishing and orientation you can visit the MJP Best Practices site here: MJP Best Practices
Material
The ProJet MJP 5500X-E and ProJet MJP 5600 printers can print in multiple materials in the same print. When connecting to the printer, you can select multi- or single-material mode. The print head will use either two materials or only one, so a changing procedure is needed to change between the print modes.
Use the Material command to assign different materials to different subparts. Depending on the materials when selecting the printer, the corresponding material palette will be available.
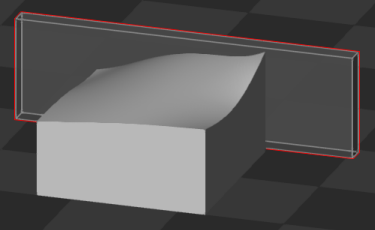
Infill
The Infills feature can have great benefits for material use and weight reduction of printed parts. Some parts will benefit more than others will. Some parts need a few simple adjustments to get the highest quality possible.
The greatest material use and weight reduction benefits of Infill lattice in the core of your part happen when you
Reduce wall thickness as thin as possible
Reduce infill density as much as possible
Create vent/drain holes that will effectively drain wax from your part
See the Infill section for more information on how to create offsets, assign infill lattice structures and create vents and drains for your parts.
Manual Shrinkage Compensation
Material shrinkage occurs in thermosets as they transition from liquid state to solid state during the curing process.
3D Sprint has features that allow the user to compensate for the natural shrinkage of the material in order to fine tune the accuracy of a part. For more information on manually setting shrinkage compensation see here: Manual Shrinkage Compensation
Auto Placement
Depending on if the printer is a single- or multi-band printer, the Auto Place command will make certain considerations:
Single-band printers
To minimize print time parts will be arranged in the smallest area from the right.

Multi-band printers
To minimize print time parts will first be arranged within one band.
If the parts cannot fit within one band the parts will be placed in the smallest area within two or three bands depending on printer.
Verification Strip
The verification strip is a wall that is added to the print, it is used to verify that the printer’s nozzles or jets have been working correctly during the entire print. If there is any abnormality in the verification strip the printed part should be studied carefully to check for any errors in the build. The strip will be placed next to the part or at the end of the platform, depending on the printer. And it requires some space on the Print Platform, so it reduces the net printable area on the platform slightly. This reduction is displayed as a solid orange line:
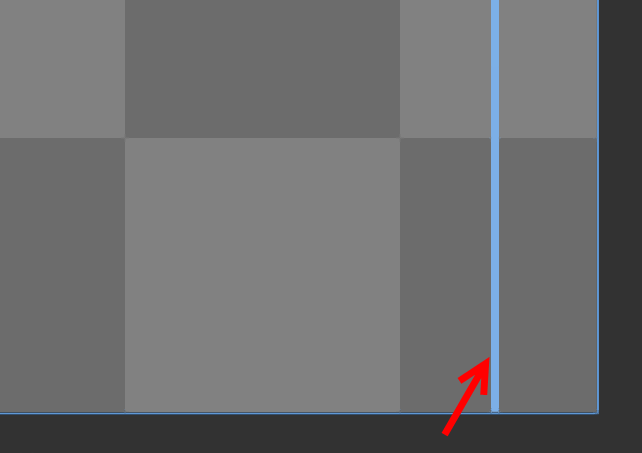
For multiple band printers, if the parts are less than one bandwidth then the verification strip will be one bandwidth wide. If several bands are required, the verification strip will cover these. To save both time and material, if the part's width is reduced below a certain bandwidth after a certain height, the printer will reduce the width of the verification strip accordingly.
Example:
|
|

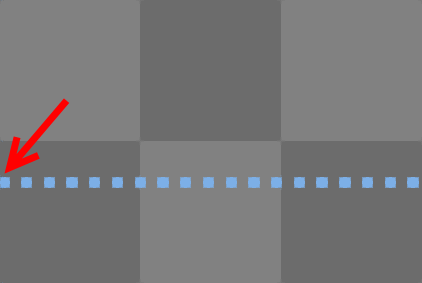
Seamline display
For multiband printers, the seamline marks the line in between bands when printing. When using Auto Place, the command will avoid this line.
ProJet MJP 2500
If possible, placing parts over the seamline should be avoided. Because there may be a quality loss over the stitching zone, which is the exact width of the displayed line.
Print Queue
For MJP printers, print jobs in the print queue are stored in the printer. This means that other printer clients, that are also connected to the printer, will also be able to see and manage the jobs in the print queue.
See Also