Quality Check
Check the current print setup for printability issues. It checks for areas or features in the part that might not print well or cause issues when printing.
Note: This is just an indication, the print setup is still allowed to be printed.
Note: Features labeled with ![]() require a 3D Sprint Pro Subscription for access. For assistance, please reach out to our technical support team at http://www.3dsystems.com/support or contact your regional sales manager.
require a 3D Sprint Pro Subscription for access. For assistance, please reach out to our technical support team at http://www.3dsystems.com/support or contact your regional sales manager.
Note: Click Simple UI ![]() to switch between the simple and the advanced User Interface. In the Simple UI, only the tools for minimum workflow are visible.
to switch between the simple and the advanced User Interface. In the Simple UI, only the tools for minimum workflow are visible.
-
In the Print tab, click Quality Check.
-
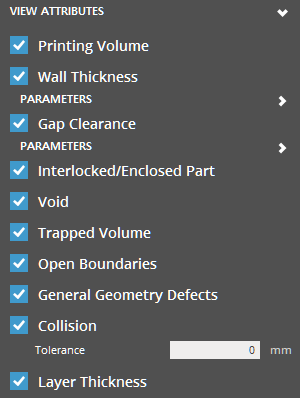
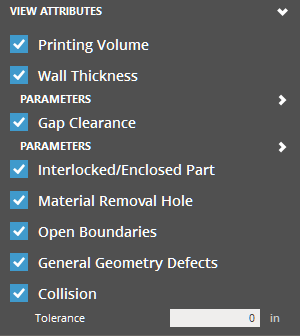
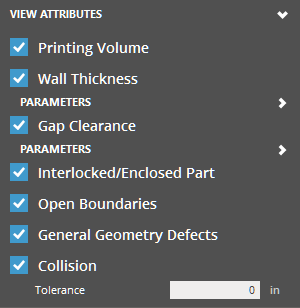
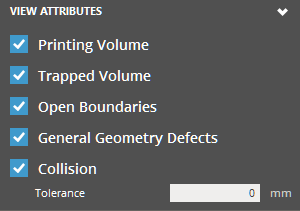
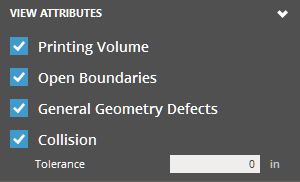
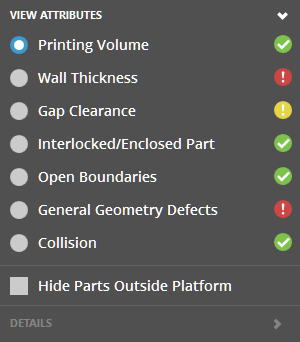
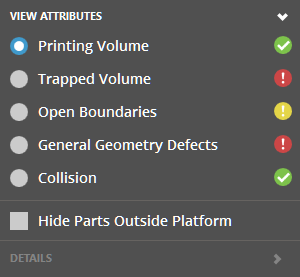
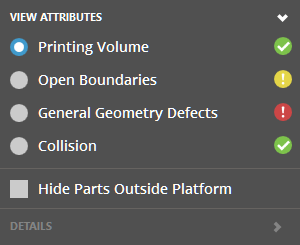
To check the printability, select attributes to check from View Attributes list and click Check.
-
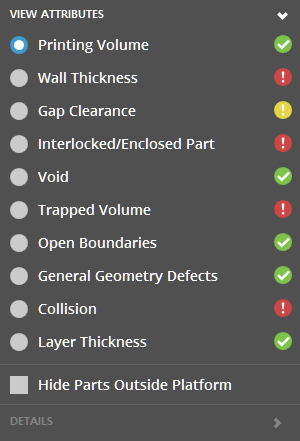
All attributes that pass are marked with
 , errors and warnings will be marked with
  and
and  .
.

-
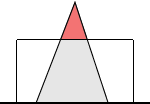
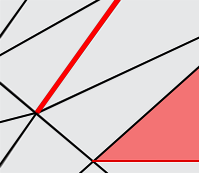
Select an attribute to see the affected area in red.
Check Show Problem Parts Only to only display parts with issues. Click Hide Parts Outside Platform to exclude the parts outside the Print Platform from the calculation for an accurate result.
-
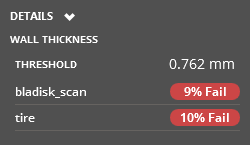
See detailed information under Details. It gives exact threshold value, and amount of data in percent that has error.
-
Consider changing print mode, adjusting print size, orientation or design to ensure a good print. Use the Fix command in the Prepare File module to fix issues with the part mesh.
Options
![]() Preset
Preset
Save parameter changes as defaults for later use and restore them at any time you need.
![]()
![]() Set Defaults - Click to set parameter changes as defaults for later use.
Set Defaults - Click to set parameter changes as defaults for later use.
![]() Restore Defaults - Click to restore any changes to the saved defaults.
Restore Defaults - Click to restore any changes to the saved defaults.
![]() Restore Factory Defaults - Restores any changes to the factory defaults.
Restore Factory Defaults - Restores any changes to the factory defaults.
![]() Import Saved Parameters - Click to import saved parameters.
Import Saved Parameters - Click to import saved parameters.
![]() Export Parameters - Click to export changed parameters for later use.
Export Parameters - Click to export changed parameters for later use.
Attributes
|
Issues |
Description |
|---|---|
|
|
Printing Volume Parts that do not fit within the printing volume. |
|
|
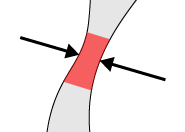
Wall Thickness Thin inner mesh distance that may cause printing issues with the currently selected printer and print mode. A feature that is too thin can collapse or be omitted when printing. This allows to custom threshold and warning values for Wall Thickness. |
|
|
Gap Clearance Gaps in the mesh that are too narrow to print. The gaps might be fused together when printing. This allows to custom threshold and warning values for Gap Clearance. |
|
|
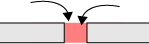
Interlocked/Enclosed Part Interlocked and Enclosed Part can be detected when the following situations occur:
Note: For SLS printers, this is available to check if the interlocked gap between parts is too small to prevent them from fusing together when printing. |
|
|
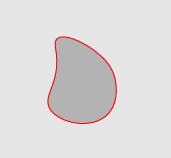
Void Enclosed volume within a part. This volume might be filled with uncured print material or support material which cannot be removed. |
|
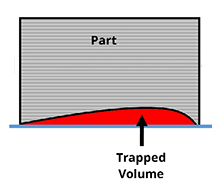
Trapped Volume Trapped volume that may cause results in blowout or poor surface finish. Consider adding vent holes or reorient the part. |
|
|
|
Material Removal Hole Material removal holes too small to remove support material after printing. |
|
|
Open Boundaries Open boundaries in part mesh, holes in the part mesh that needs to be repaired. It can create errors in the slicing process. And can even cause the print to fail. |
|
|
General Geometry Defects Defects in the part mesh. Such as bad edges, open boundaries, flipped faces, duplicated faces and small components. |
|
|
Collision Part collisions in the print. |
|
Layer Thickness Checks for conflicting layer thicknesses across all parts on the Print Platform and highlights parts that are conflicting with each other. |