![]()
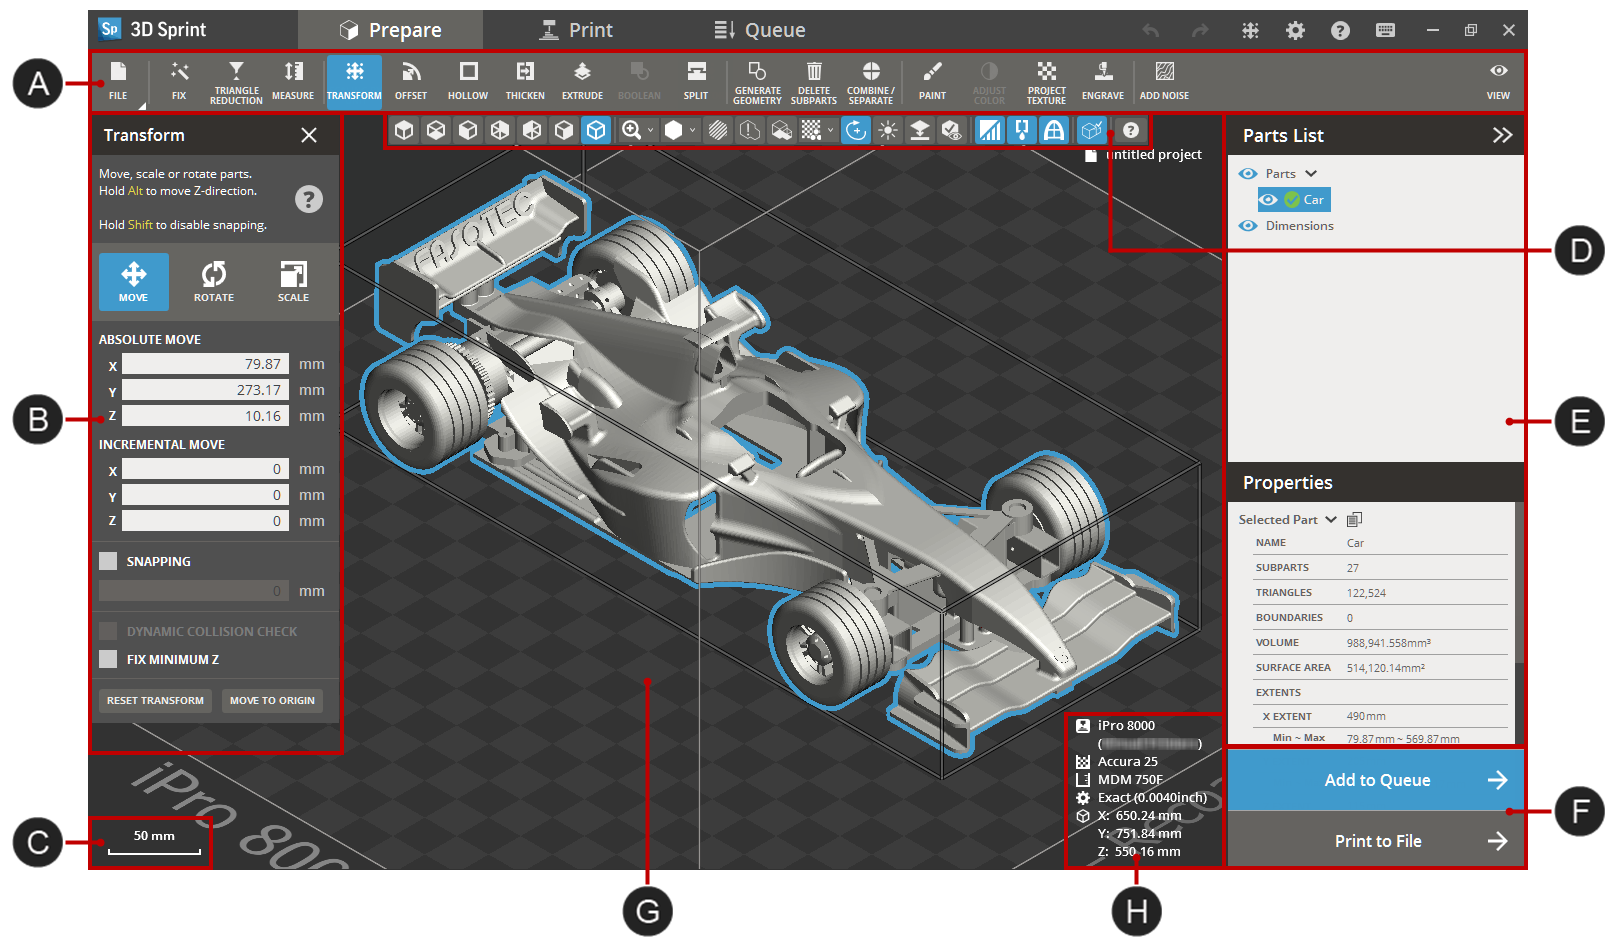
Use Prepare to check, prepare and edit parts for printing.
|
Dynamic Toolbar |
|
Parts list and Properties of selected part |
|
Command dialog |
|
Print buttons |
|
Scale |
|
|
|
|
Selected printer information and scale |
Commands
Note: Some commands may require you to have a license to be visible in the application.
Note: (NextDent
5100 Printer) Click
Simple
UI ![]() to switch between the simple and the advanced User Interface. In the Simple
UI, only the tools for minimum workflow are visible.
to switch between the simple and the advanced User Interface. In the Simple
UI, only the tools for minimum workflow are visible.
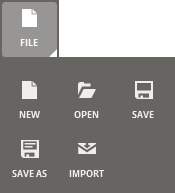
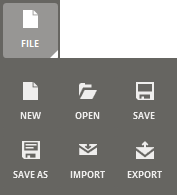
File:
Other:
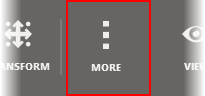
See hidden commands under More.
To access the file commands, click File.
Selecting parts
Select a part by hovering the mouse over the part and left-clicking, click and drag to select all parts within an area. It is also possible to select a part by clicking on the name of the desired part in the Parts List.
Hold Shift to add to selection, hold Ctrl to remove from selection.
A verified part is highlighted with blue:

A non-verified part is highlighted with yellow:
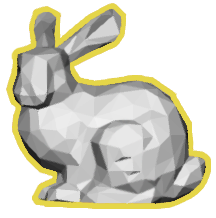
If a part is placed outside of the print volume or has errors, it might be unprintable and will be highlighted with red:

Note: Use the Fix command to fix and verify issues with the part.
Modifier keys:
Shift |
Add to selection |
Ctrl |
Remove from selection |
Printing parts
Send parts to the Queue for printing or save a print project as a print build file. See Printing Parts in the Print tab for more information.
![]()
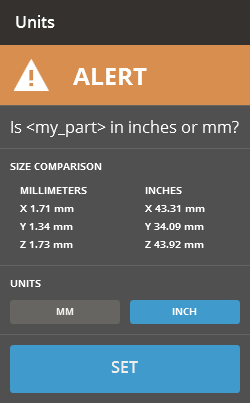
If the application cannot recognize the unit of the part, an alert message will appear. Choose the correct unit and click Set.
See Also