![]()
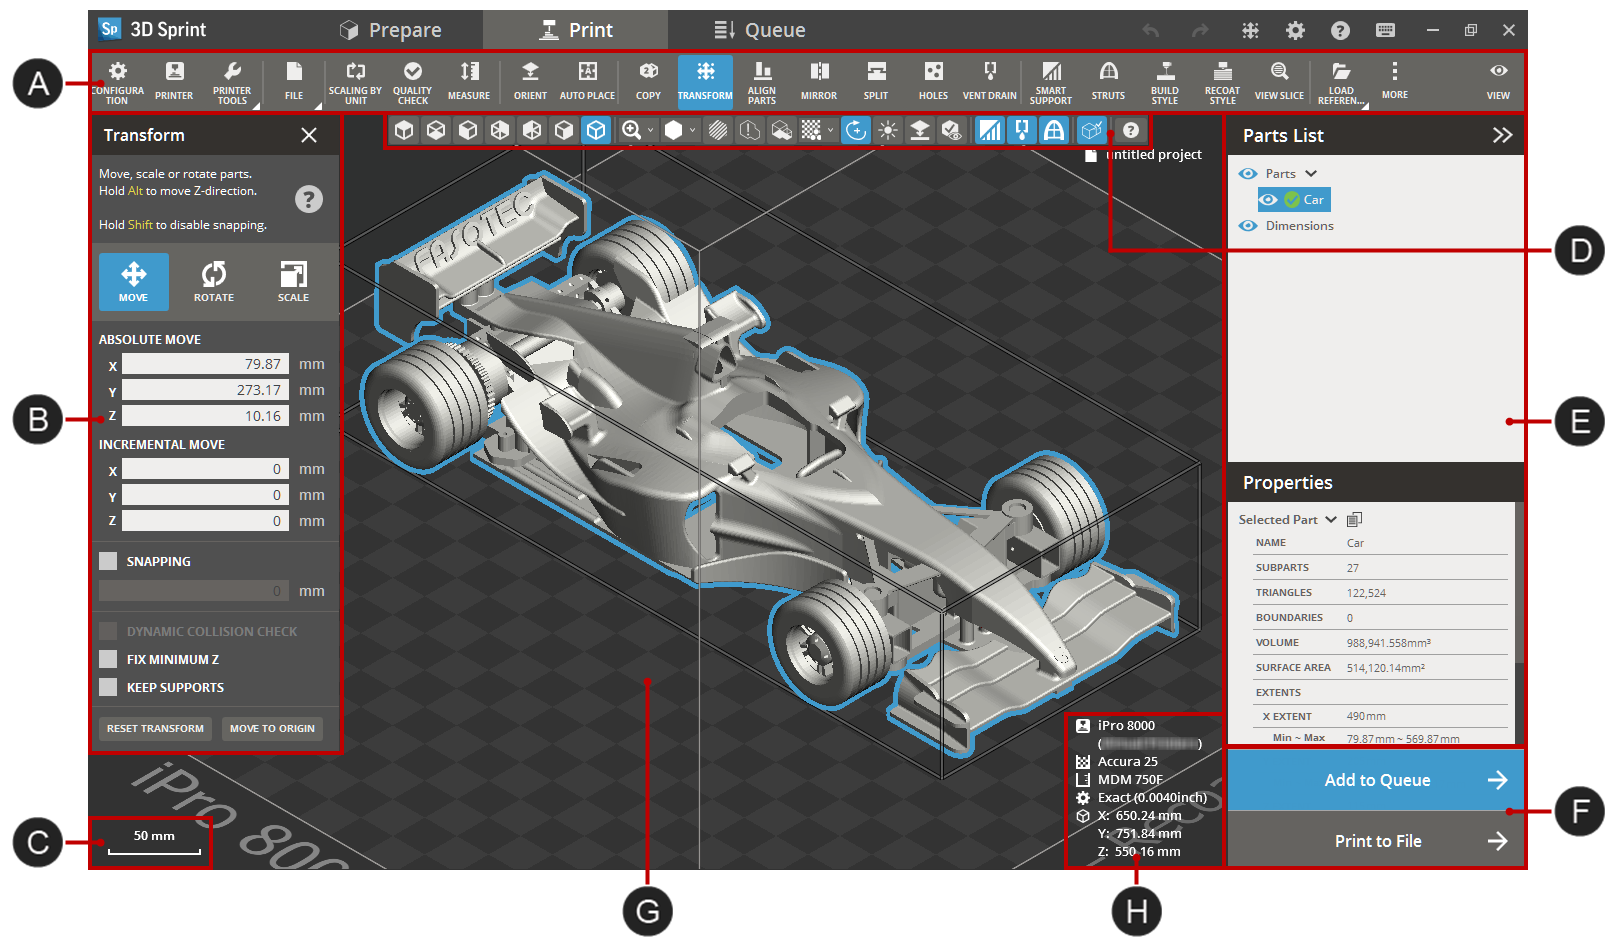
Use Print to setup and prepare your print. See Viewport and Print Platform for more information on the viewport and platform. To add 3D-files to the Print Platform, under File, click Import and navigate to your 3D-file.
|
Dynamic Toolbar |
|
Parts list and Properties of selected part |
|
Command dialog |
|
Print buttons |
|
Scale |
|
|
|
|
Selected printer information and scale |
To change the viewpoint or use section view click View, or use the mouse to control the view.
Commands
Note: Some commands may require you to have a license to be visible in the application.
Note:
(NextDent 5100 Printer) Click
Simple
UI ![]() to switch between the simple and the advanced User Interface. In the Simple
UI, only the tools for minimum workflow are visible.
to switch between the simple and the advanced User Interface. In the Simple
UI, only the tools for minimum workflow are visible.
Printer:
File:
Other:
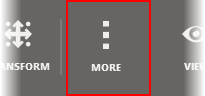
If all commands do not fit in the command bar, they will be placed under More.
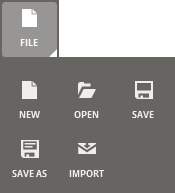
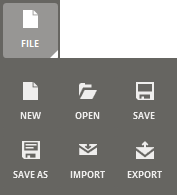
To access the file commands, click File.
Selecting parts
Select a part by hovering the mouse over the part and left-clicking, click and drag to select all parts within an area. It is also possible to select a part by clicking on the name of the desired part in the Parts List.
Hold Shift to add to selection, hold Ctrl to remove from selection.
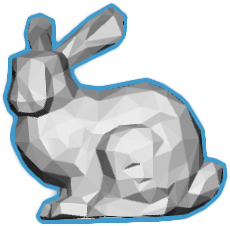
A verified part is highlighted with blue:
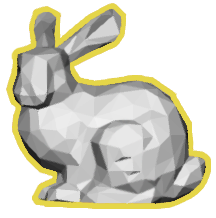
A non-verified part is highlighted with yellow:
If a part is placed outside of the print volume or has errors, it might be unprintable and will be highlighted with red:

Modifier keys:
Shift |
Add to selection |
Ctrl |
Remove from selection |
There are two ways to print out your parts; Add to Queue and Print to File. Proceed to one of the method to print parts.
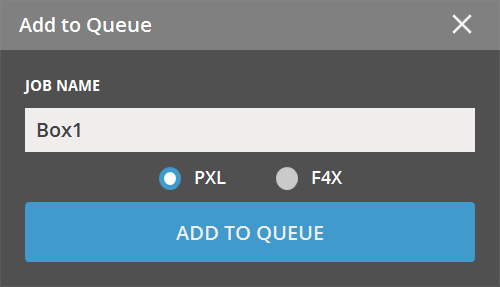
To send parts to the Queue, click Add to Queue.
![]()
Note: Make sure the correct printer and settings are selected before sending it to the printer.
Select one of .PXL and .F4X file types. A build can be saved as .PXL or .F4X file when printing parts to file or sending them to Queue. The default is .PXL file.
Note: This option is only available for NextDent 5100, Figure 4 Standalone, and Figure 4 Jewelry printers running the firmware version 1.1 or higher.
To save a print project as a print build file, click Print to File.
![]()
Note: The option for .PXL and .F4X file types output has different behaviors depending on wether or not 3D Sprint is connected to a real printer.
If 3D Sprint is connected to a real printer:
For the printer that runs firmware version 1.0: The .PXL file option is only available.
For the printer that runs firmware version 1.1 or higher: Both the options are available. The default is .PXL file.
If 3D Sprint is NOT connected to a real printer:
Both the options are available. The default is .PXL file.
Note: Select the Include sorted facet files checkbox to include sorted facet files when creating the build packet.
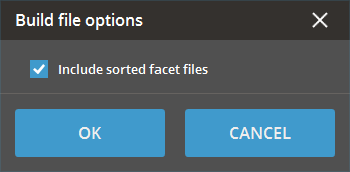
If the Include sorted facet files option is chosen when saving the BPZ file, sorted facet files will be created and included in the BPZ file. This precludes the need to verify the build job on the printer PC in order to create the sorted facet files after its added to the printer queue for printing. Choosing this option will increase the size of the BPZ file.
See Also